Adding festive joy to your dining room and other areas of your house is ideal throughout the holiday season. Making your own DIY chair covers for Christmas is an easy yet effective method to improve your holiday décor. With these covers, you can quickly improve the appearance of your dining chairs and create a cozy, joyous atmosphere. In addition to discussing materials and providing advice to ensure the success of your project, this tutorial will walk you through the entire process of making your own DIY chair covers for Christmas.
You may want to read: 10 Easy DIY Home Christmas Decoration Ideas for moms
- Why Choose DIY Chair Covers for Christmas?
- Supplies You'll Need for Christmas Chair Covers
- Step-by-Step Guide to Making DIY Chair Covers for Christmas
- Pro Tips for Stunning Christmas Chair Covers
- How to Style Your DIY Chair Covers for Christmas
- Why Readers Love These Christmas Chair Cover Ideas
- Conclusion:
- FAQ: All About DIY Chair Covers for Christmas
Why Choose DIY Chair Covers for Christmas?

Creating your own Christmas chair cover ideas offers many benefits:
- Cost-Effective: Custom chair covers can be expensive, but a DIY approach helps you save money.
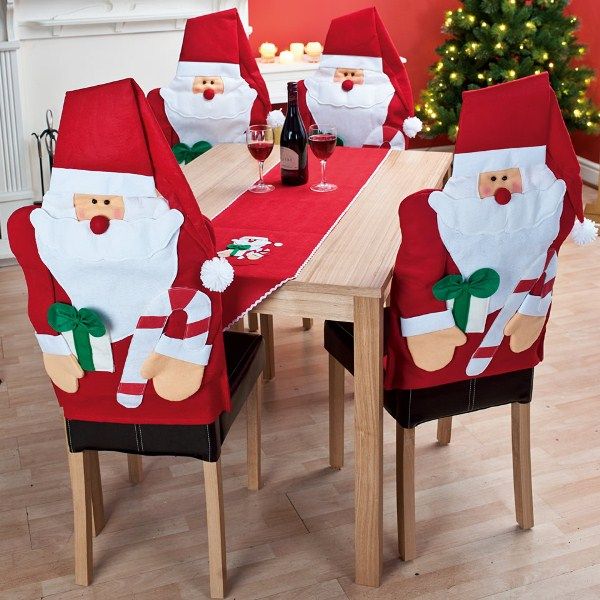
- Creative Control: Personalize your covers with patterns, colors, or even Santa Claus chair covers for a playful holiday touch.
- Eco-Friendly: Use leftover or recycled materials to reduce waste.
With a bit of effort, your dining room can become a cozy, festive haven. Let’s dive into the details!
Supplies You’ll Need for Christmas Chair Covers

Before you start crafting your diy chair covers, gather these essential materials:
- 1.5 meters (or yards) of 54-inch wide fabric per chair
- Large, see-through garbage bags (blue recycling bags work well)
- Scissors
- Felt pens or markers
- Pins
- Sewing machine
- Iron
- Optional: embellishments like bows, bells, or glitter fabric
Step-by-Step Guide to Making DIY Chair Covers for Christmas
Follow these simple steps to craft your custom Christmas chair covers.
Step 1: Prepare the Fabric
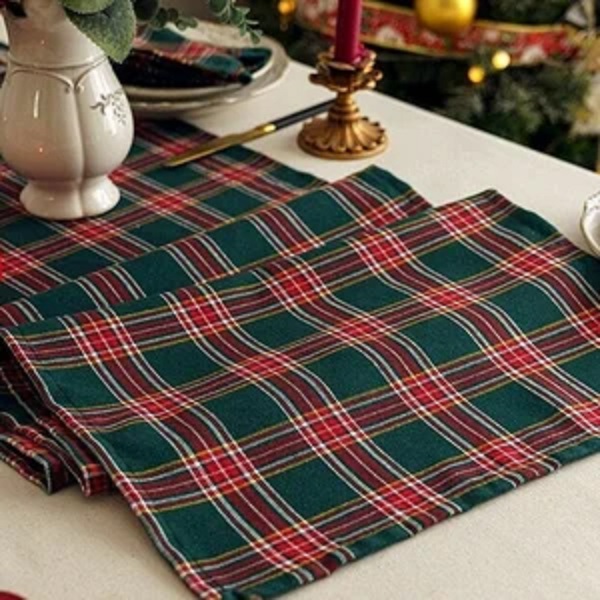
Start by washing, drying, and ironing the fabric. Prepping the fabric ensures there won’t be shrinkage or wrinkles when sewing. While this step may seem tedious, it’s crucial for achieving a polished result.
Step 2: Create a Pattern
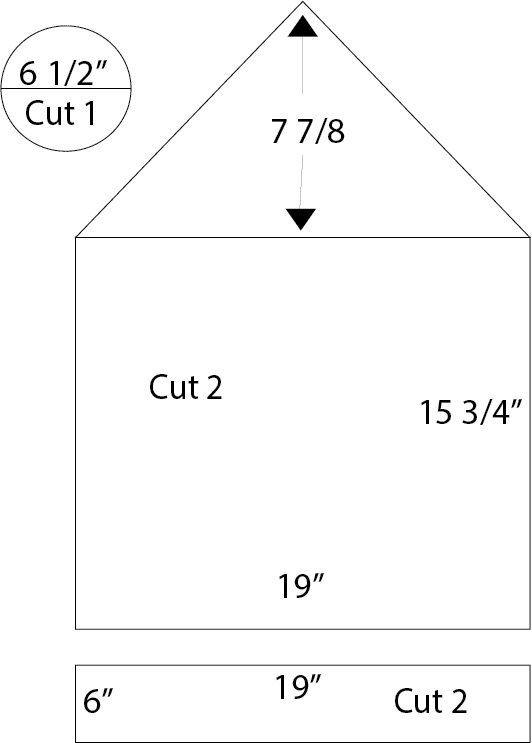
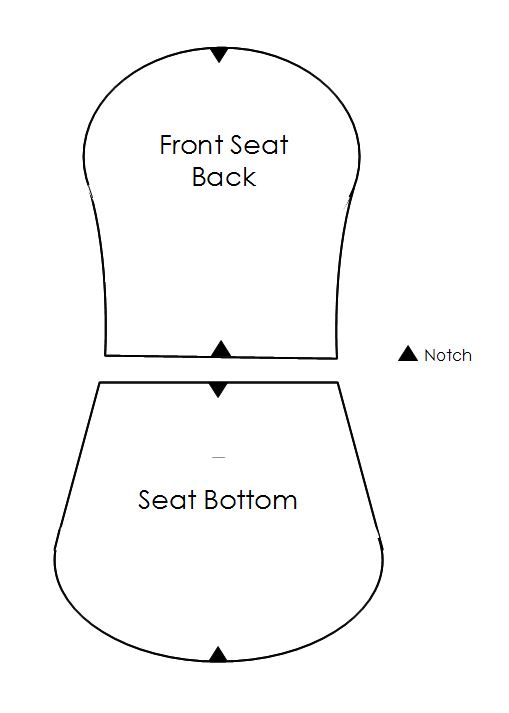
Every chair is different, so creating a custom pattern is key. Use a see-through garbage bag to mold the shape of your chair.
- Place the garbage bag over the chair and pull it tight to form a rough shape.
- Use a felt pen to outline the edges where the chair cover will fit, including the hemline.
- Remove the bag and lay it flat on a surface. Flatten out any wrinkles.
- Pin the bag together and add an extra inch for seam allowances on the top and sides. Add two inches for the bottom hemline.
This process creates a custom pattern that works for your unique chair dimensions.
Step 3: Cut the Fabric
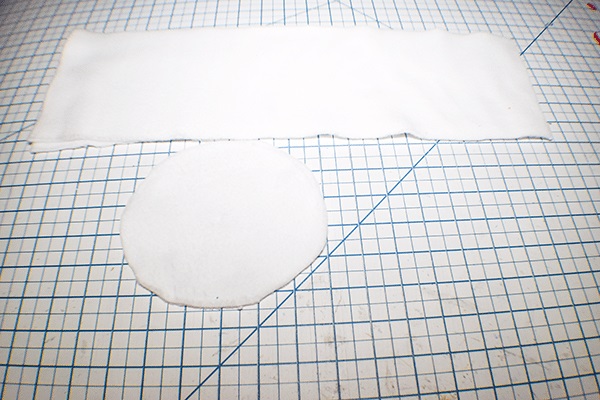
Lay your fabric on a flat surface, with the right sides together. Place your pattern on the fabric and secure it with pins. Carefully cut the fabric along the outline. You’ll need two pieces per chair: one for the front and one for the back.
For sashes: Cut strips of fabric 9 inches high and 54 inches long. Each chair will need four strips to tie bows at the back.
Step 4: Sew the Covers
- Use a serger or zig-zag stitch to finish the raw edges of the fabric. This prevents fraying.
- Pin the front and back pieces together with the right sides facing in.
- Sew the top and sides together, leaving the bottom open for the chair to slide in.
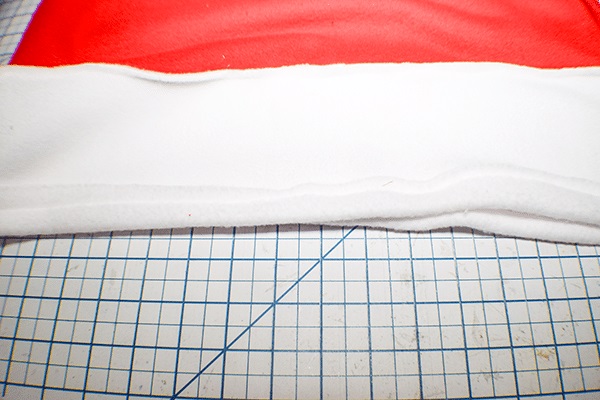
- Hem the bottom edge by folding it twice and stitching it securely.
Step 5: Add Festive Sashes

The sash ties are a beautiful touch that adds elegance to your DIY chair covers. Sew the edges of each fabric strip to finish them. Wrap them around the back of the chair and tie them into bows. You can embellish these bows with festive elements like faux holly or bells.
Pro Tips for Stunning Christmas Chair Covers
- Experiment with Patterns: Opt for tartan, snowflakes, or even Santa Claus chair covers for a playful look.
- Add Embellishments: Incorporate sparkly accents or applique designs for an extra festive touch.
- Use Velcro Strips: If you want easy-to-remove covers, Velcro is a great alternative to sewing sashes.
How to Style Your DIY Chair Covers for Christmas
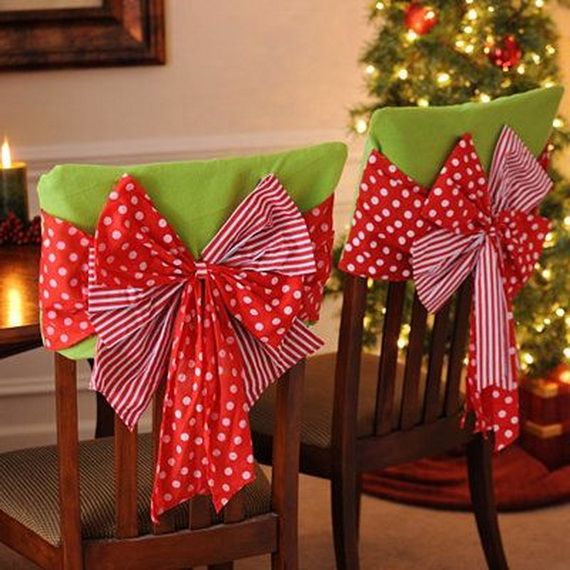
Your newly crafted Christmas chair cover should seamlessly blend with the rest of your holiday decor. Pair them with a matching table runner or centerpiece for a cohesive look. Add fairy lights around the dining room to amplify the cozy, festive ambiance.
Why Readers Love These Christmas Chair Cover Ideas
- They’re simple and budget-friendly.
- They allow creative freedom.
- They make your dining space feel festive without a complete overhaul.
- Your dining room deserves to look as festive as the rest of your home this Christmas. By
Conclusion:
This Christmas, your dining room should have the same festive appearance as the rest of your house. You may save money, exercise your creativity, and wow your visitors with your considerate festive touches by making diy chair covers for Christmas . This holiday season, let your dining area shine with your personalized designs.
FAQ: All About DIY Chair Covers for Christmas
1. What fabric is best for Christmas chair covers?
Opt for sturdy, festive fabrics like cotton or polyester blends. Velvet and tartan patterns work particularly well for a cozy Christmas look.
2. How do I ensure my diy chair covers fit my chairs?
Create a custom pattern using garbage bags to trace your chair’s shape. This ensures a perfect fit, even for uniquely shaped chairs.
3. Are Santa Claus chair covers easy to make?
Yes! Follow the same steps but use red fabric and add a faux fur trim or Santa hat embellishments to create the look.
4. Can I make no-sew Christmas chair covers?
Absolutely! Use fabric glue and Velcro strips to assemble the covers without sewing.
5. How long will it take to make a set of diy chair covers?
On average, making covers for six chairs will take 4–6 hours, depending on your sewing experience.

